The CentOS Project
The CentOS Project is the name of the Organization that produces CentOS. They are not a part of any other organization.
Step - 1
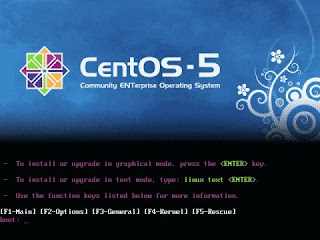
The installation procedure is typical RedHat, simple and straightforward. Boot your computer from the CentOS 5 CD 1 or DVD and press Enter on the CentOS 5 boot up screen. This will install CentOS 5 in graphical mode.
Step - 2
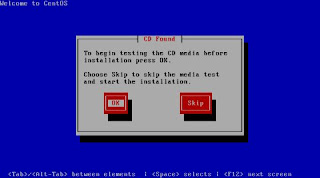
Choose Skip in the CD Found window. This will skip the CD media test. If you click on the OK, You will have the option to check the media for defects and errors before installing. Not a bad idea, in general.
Step - 3
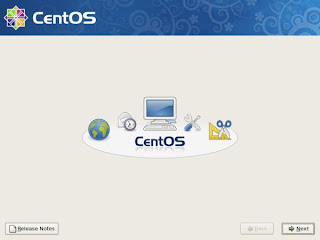
After a short time, the installation will begin. Click Next to go forward.
Step - 4
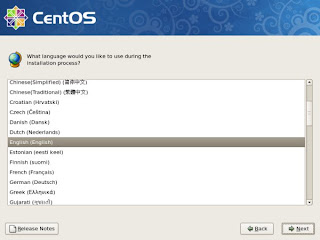
Choose a language and click Next.
Step - 5
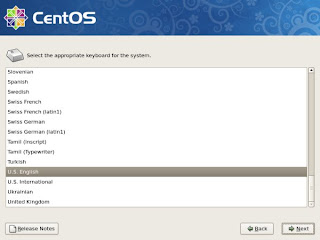
Choose a keyboard Layout for the system and click Next.
Step - 6
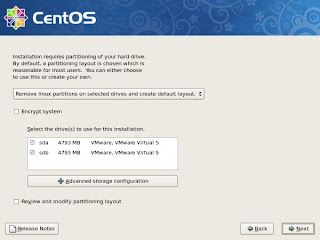
This Step you must do carefully. Click Next and answer Yes on the Warning window.
Minimum Partitions for installing Linux
- Swap Partition - to improve performance of the O/S (Virtual Memory)
- Root Partition (/) - to keep the boot files and Linux kernel, to install the O/S, to install application software, to keep personal data.
»» Creating a SWAP partition
- No Mount Point
New → Select SWAP as a file system → Select partition Size
If your RAM in the PC less than 2GB, give the SWAP 2 times of your RAM capacity (Ex: 512MB RAM → 512 × 2 = 1GB)
Since we are only going to create minimum partitions. We can give the rest of the Hard Disk Drive space to the root partition.
»» Create Root partition
- / (root) mount point
New → select / (root) as a mount point → select ext3 as file system type → select partition size

This is the final result
Step - 7
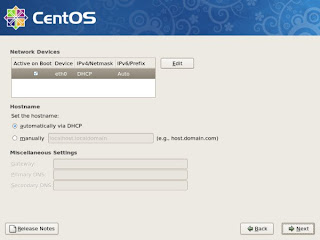
Select automatically via DHCP
( you can configure network settings later)
Step - 8
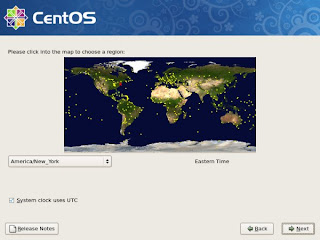
Choose a region in the map. If the system clock is set to your local time.
Step - 9
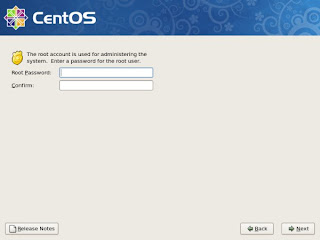
Specify a strong password at least six characters long. Click Next when you done.
Step - 10
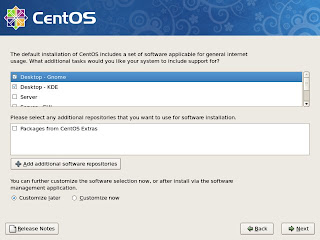
Select packages what you want to install.
Step - 11
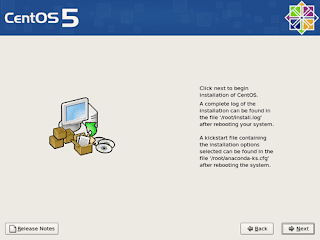
Click Next to begin installation.
Step - 12
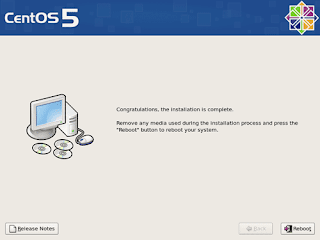
Congratulations, the installation is complete. Remove the CD and click Reboot to proceed to configuration.
0 comments:
Post a Comment